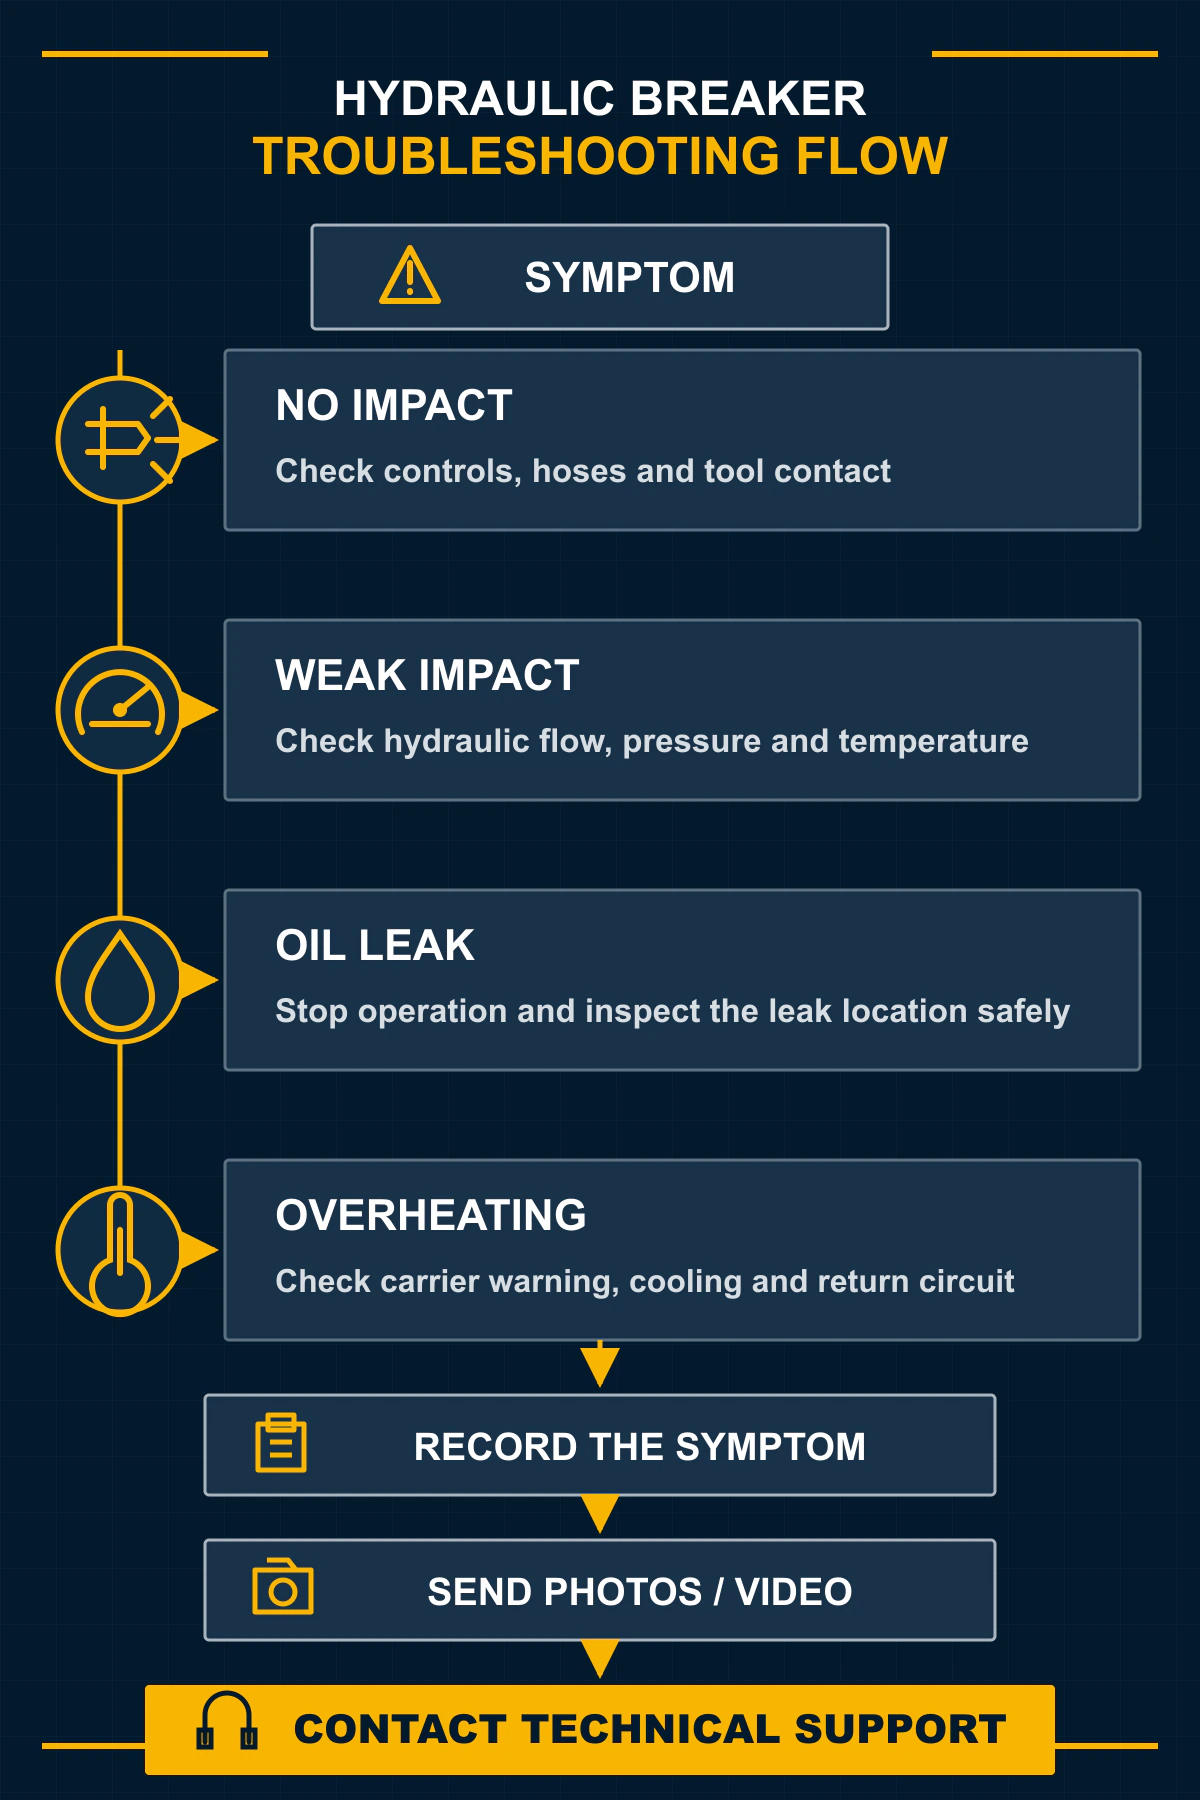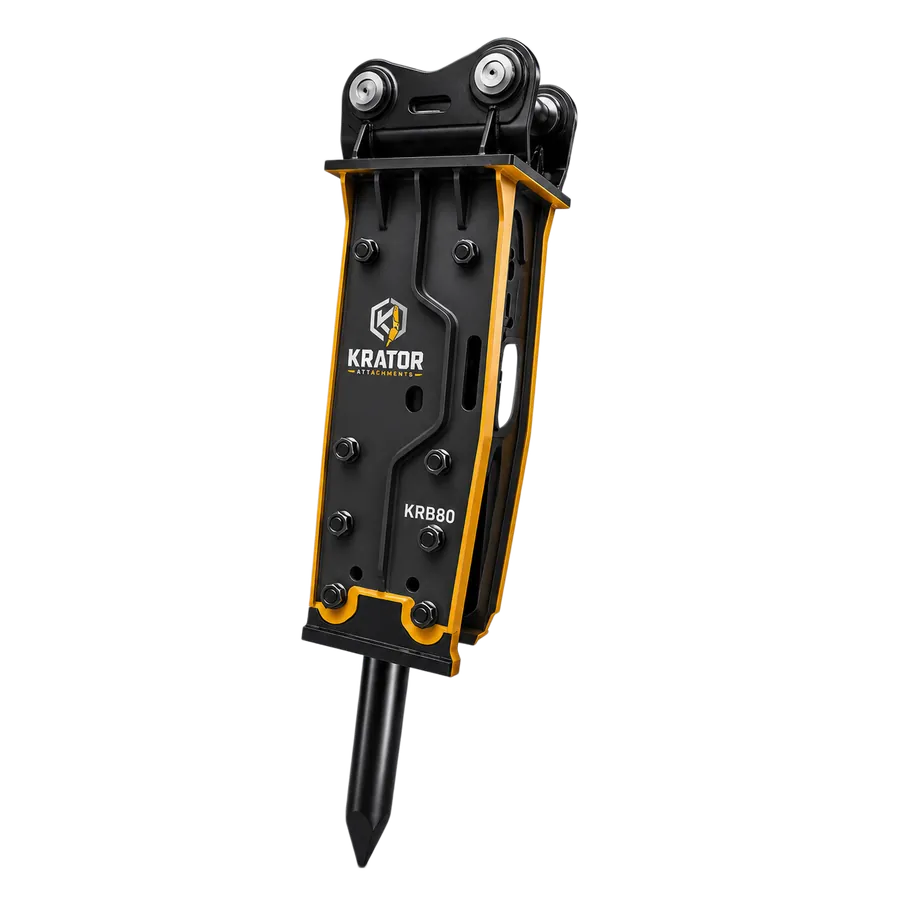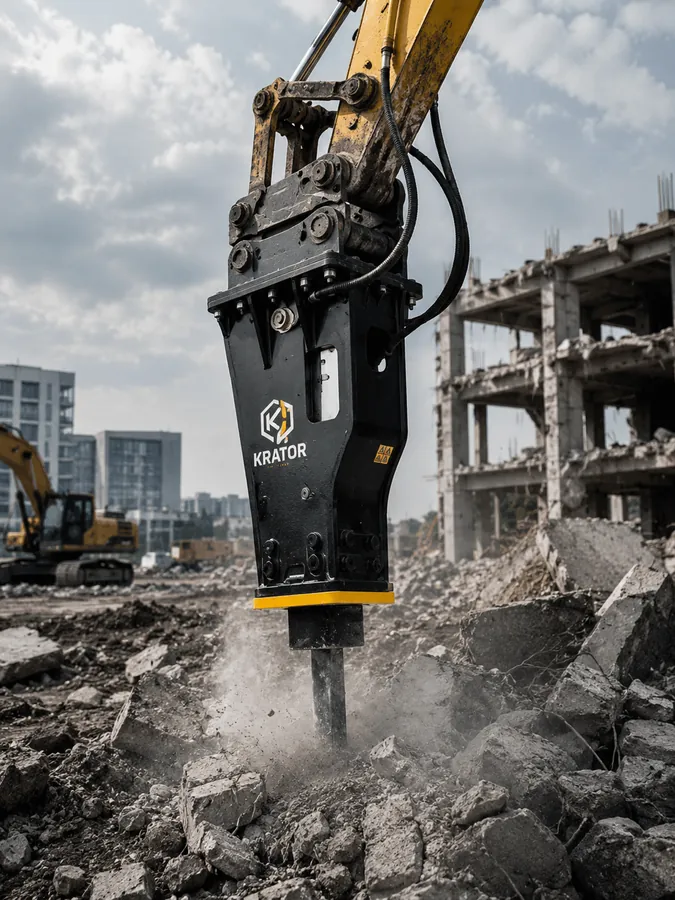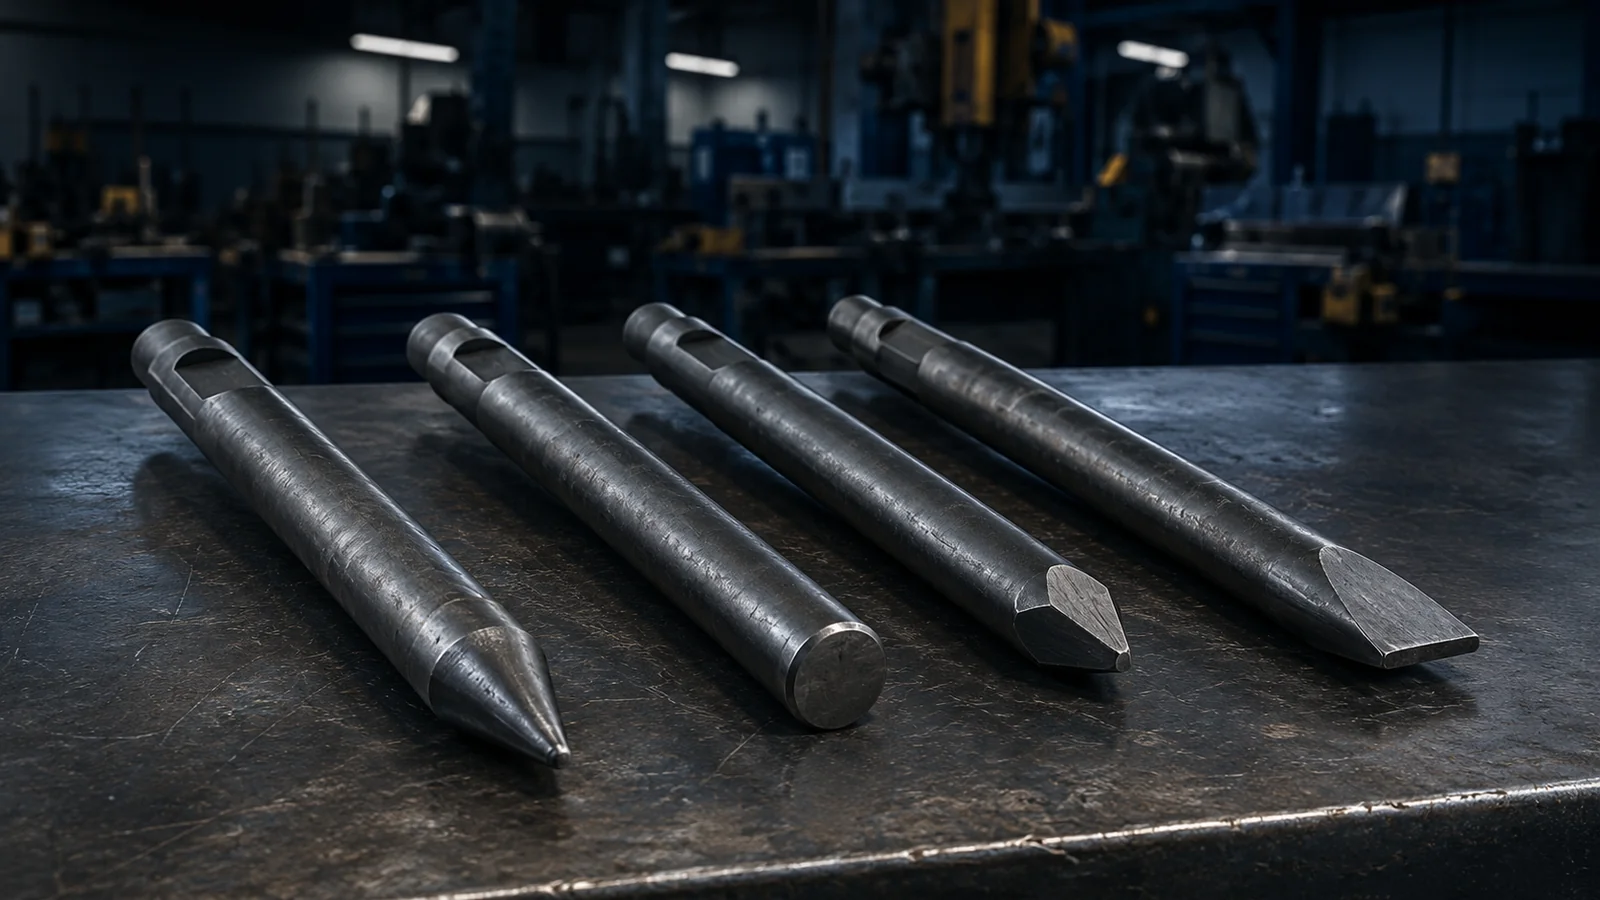

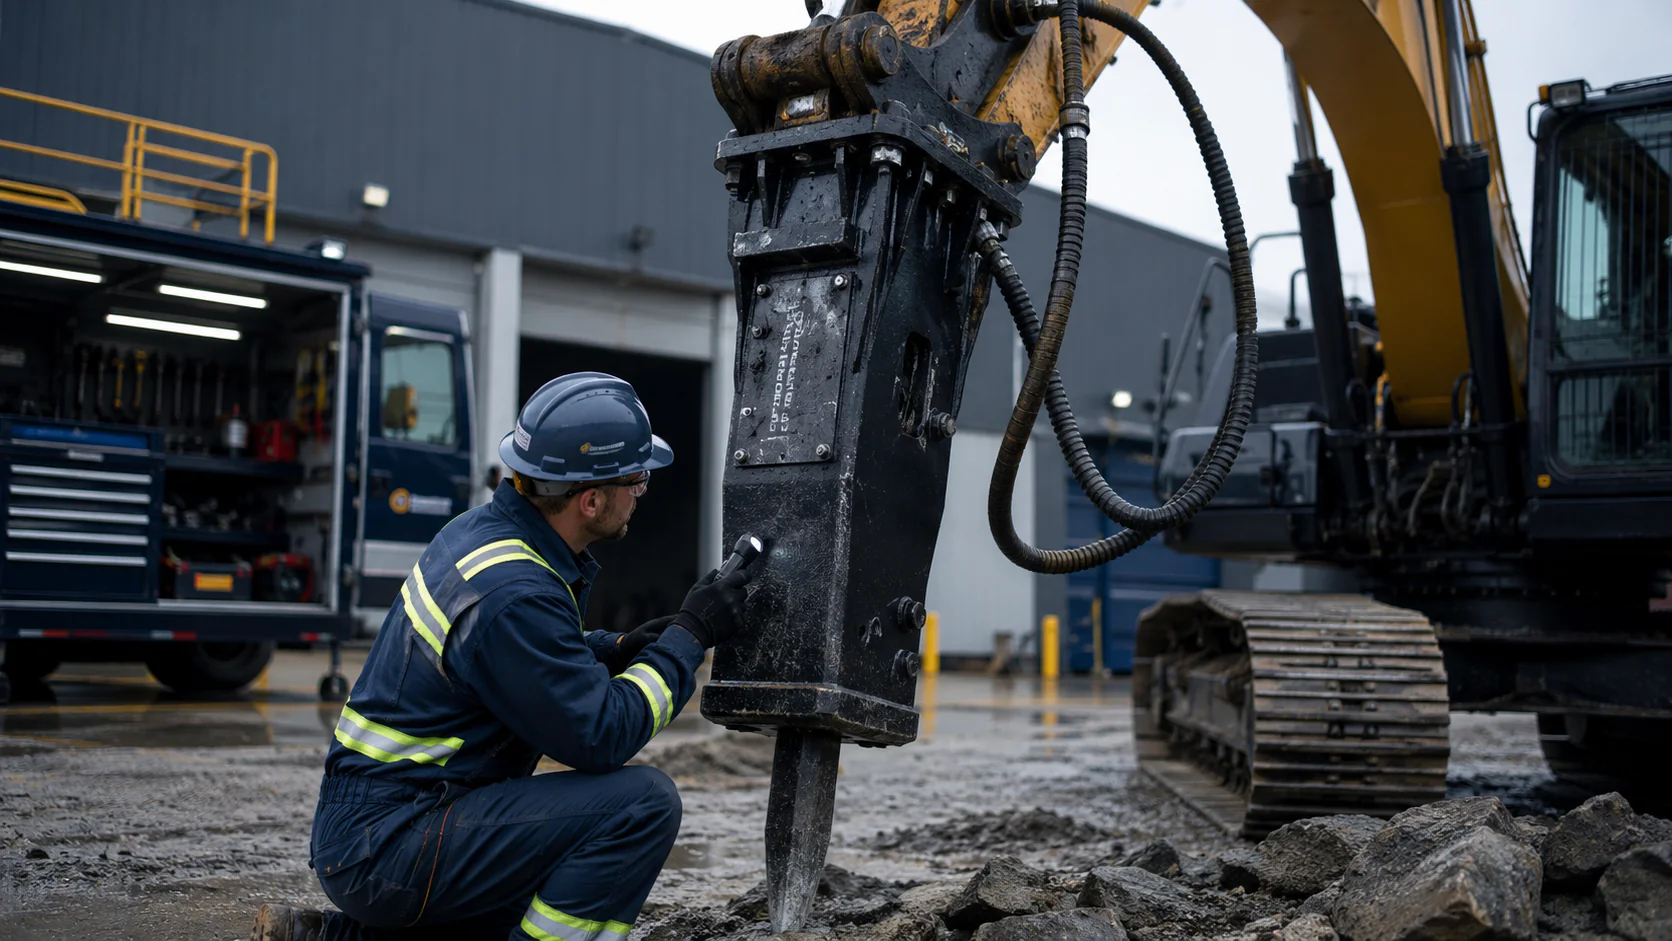
Hydraulic breaker troubleshooting should begin with safe shutdown, a clear symptom record and external checks of the carrier controls, visible hoses, mounting, tool contact and warning indicators. A symptom can have several hydraulic, operating or mechanical causes, so do not treat a checklist as a confirmed diagnosis. Pressure testing, setting changes, accumulator or nitrogen work, internal disassembly and repairs require verified procedures and a qualified technician.
A hydraulic breaker converts the excavator's hydraulic supply into repeated tool impact. If the breaker stops hitting or its behavior changes, the fault can come from the carrier, hydraulic circuit, attachment, working tool, operating method or more than one condition at the same time. The safest and fastest support request separates what the operator observed from what a technician has measured.
This guide applies to common external symptoms across the available hydraulic breaker range and configurations. It does not replace the excavator manual, the breaker manual or model-specific service instructions. Do not use values from another breaker model as a setting target.
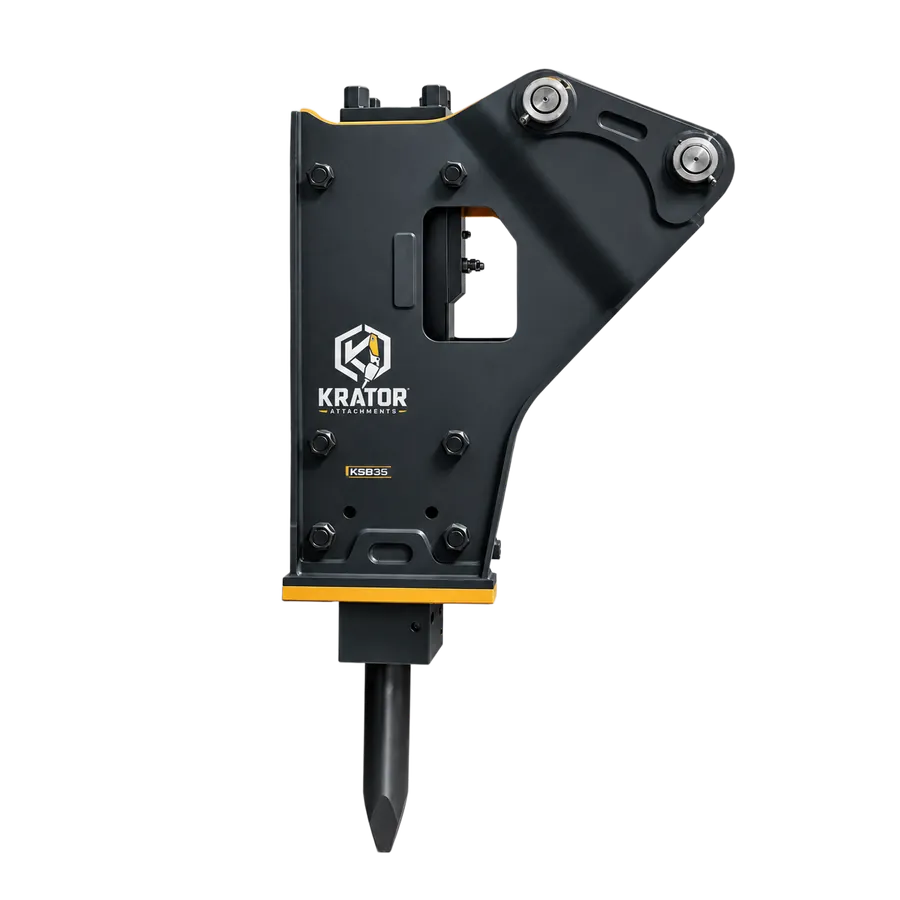
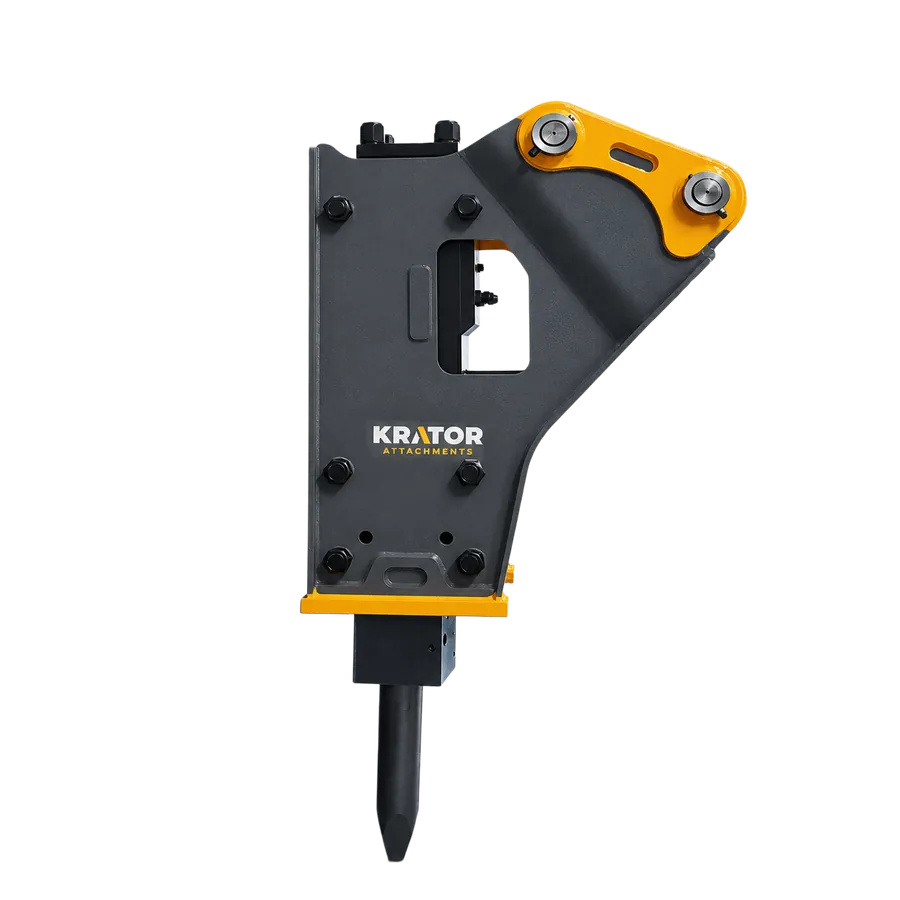
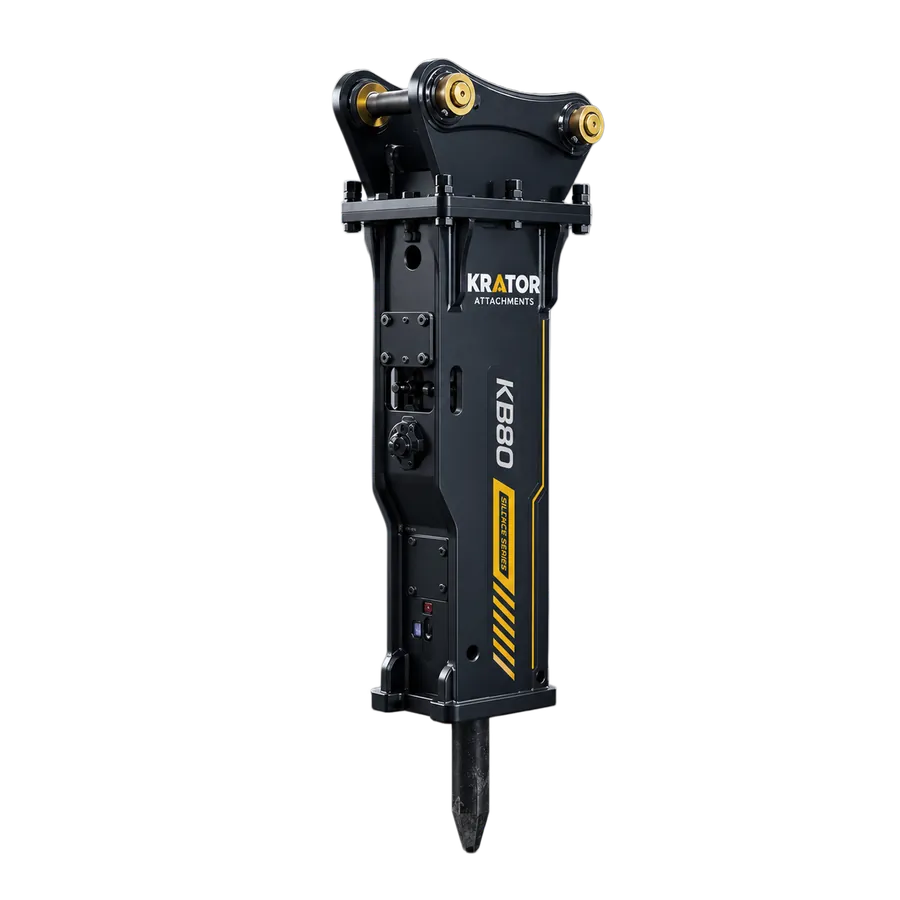
Housing access and external inspection points can differ between side, box and top type breaker configurations, even when the symptom-recording process is the same.
Quick Diagnostic Safety Notice
Lower the attachment to a stable position, stop the engine, prevent unexpected machine movement and release stored hydraulic pressure only by the procedure specified by the machine and breaker manufacturers. Hydraulic fluid under pressure can penetrate skin. Never use a hand to find a leak.
Do not loosen pressurized hoses or fittings, open an accumulator or nitrogen chamber, remove retainers, force out a stuck tool, or change relief, flow or breaker settings as an operator check. Isolate the area and use a qualified technician whenever the approved procedure, tools or training are not available.

Hydraulic Breaker Troubleshooting Summary
Use the table to choose the next safe step, not to confirm a failed component. Record what changed, whether the symptom is constant or intermittent, and whether it appears cold, warm, under load or after a specific event.
| Symptom | Possible cause category | Safe check | Recommended next step |
|---|---|---|---|
| Breaker does not strike | Carrier control, tool contact, visible hose/coupling condition, hydraulic supply or internal service condition | Confirm the selected control, warning indicators, correct tool contact and visible hose routing after safe shutdown | Record machine and breaker data; request hydraulic testing or attachment inspection if the external checks do not explain it |
| Weak or inconsistent impact | Operating position, oil temperature, hydraulic mismatch/restriction, tool or bushing wear, internal service condition | Compare cold and warm behavior; inspect visible tool position, lubrication evidence and hoses | Verify flow, pressure and return conditions through an approved technician procedure |
| Low or unstable impact frequency | Control input, changing load, supply fluctuation, restriction, temperature or internal condition | Record frequency behavior, engine mode, attachment control setting and when the change occurs | Stop changing settings and obtain measured hydraulic data |
| Hydraulic oil becomes too hot | Cooling/oil condition, restriction, excessive return pressure, incorrect settings, duty cycle or internal leakage | Check carrier warnings, oil level by the manual, cooler obstruction and visible hose damage | Stop if a warning appears or temperature continues rising; inspect the carrier and breaker circuit |
| Oil leakage around breaker | Damaged hose, loose/damaged connection, seal or component failure | Stop, isolate and observe the leak location from a safe distance; never use a hand | Do not operate until the leak and any contaminated surfaces are professionally addressed |
| Chisel or tool is stuck | Side loading, contamination, lubrication issue, tool/bushing wear, deformation or retainer condition | After isolation, photograph the visible tool position and condition without forcing it | Use the model-specific removal/inspection procedure with a qualified technician |
| Abnormal noise, vibration or movement | Loose mounting, tool contact, fastener/retainer condition, hydraulic pulsation or internal damage | Stop and inspect only visible mounting, bracket and tool movement from a safe position | Do not resume until the source is identified and the attachment is confirmed secure |
| Excessive hose vibration or pressure fluctuation | Restriction, coupling/valve condition, supply or return issue, air/contamination or circuit mismatch | Record which hose moves, when it starts and any carrier warning; inspect routing after shutdown | Arrange instrumented testing by a qualified technician |
Hydraulic Breaker Does Not Strike
Symptom
The control is activated but the breaker produces no normal impact. Note whether the symptom began suddenly, followed a hose or attachment change, appears only in one control mode, or occurs after the machine warms up.
Likely cause categories
Possible categories include incorrect attachment control selection, inadequate tool contact or preload, an interrupted hydraulic supply, a restricted or incorrectly connected circuit, a mounting/coupler issue, or an internal breaker condition. The symptom alone cannot identify which category is responsible.
Safe first checks
Confirm the operator has selected the intended attachment circuit and that no carrier warning is active. Check whether the tool is held correctly against the material without using the breaker as a lever. After safe shutdown, inspect visible hose routing, couplings, bracket security and obvious external damage. Do not disconnect a hose to see whether oil is present.
Record and escalate
Record the excavator model, breaker model, control mode, engine mode, oil temperature state, when the failure started and any recent hose, coupler or attachment change. A qualified technician is required when the circuit needs flow/pressure testing, a valve or setting must be checked, or no external cause is visible.
Weak or Inconsistent Impact
Symptom
The breaker hits but impact feels lower than normal, changes from one blow to the next, or improves and then fades. Compare behavior on similar material rather than judging by sound alone.
Likely cause categories
Operating angle and tool contact, hydraulic supply and return conditions, oil temperature, circuit restriction, tool/bushing wear, lubrication, carrier-breaker mismatch and internal service conditions can all contribute. More than one factor can be present.
Safe first checks
Place the tool squarely on the material and avoid side loading or blank firing. After shutdown, inspect visible hoses, the exposed tool surface and mounting security. Compare the symptom when the machine is cold and warm, and note whether another hydraulic function changes at the same time.
Record and escalate
Record the excavator and breaker models, material, tool type, operating duration before the symptom, hydraulic flow and pressure if already verified, and a short video with sound. Professional inspection is required for measured supply/return testing, wear measurement, charge checks or internal diagnosis.
Impact Frequency Is Too Low or Unstable
Symptom
The breaker strikes more slowly than expected, alternates between fast and slow operation, or pauses while the control remains activated.
Likely cause categories
Changing tool load, carrier control input, engine or attachment mode, fluctuating hydraulic supply, excessive return resistance, temperature, circuit contamination/restriction or an internal condition may affect frequency.
Safe first checks
Keep the operating position and material consistent long enough to record the behavior. Confirm the selected machine mode and note all carrier warnings. After shutdown, inspect the hose routing for crushing, sharp bends or visible damage. Do not raise flow or pressure settings to chase frequency.
Record and escalate
Provide a video showing the tool, breaker and hoses, plus the engine/attachment mode and whether the symptom changes with temperature. A technician should compare measured hydraulic flow, pressure and return conditions with the verified requirements for the exact breaker and carrier.
Hydraulic Oil Temperature Is Too High
Symptom
The carrier displays a temperature warning, the hydraulic system becomes hotter than its normal working pattern, or breaker performance changes as the oil warms.
Likely cause categories
Carrier cooling or oil condition, a restricted supply/return path, unsuitable circuit settings, excessive return pressure, a demanding duty cycle or internal leakage can produce heat. External temperature alone does not identify the source.
Safe first checks
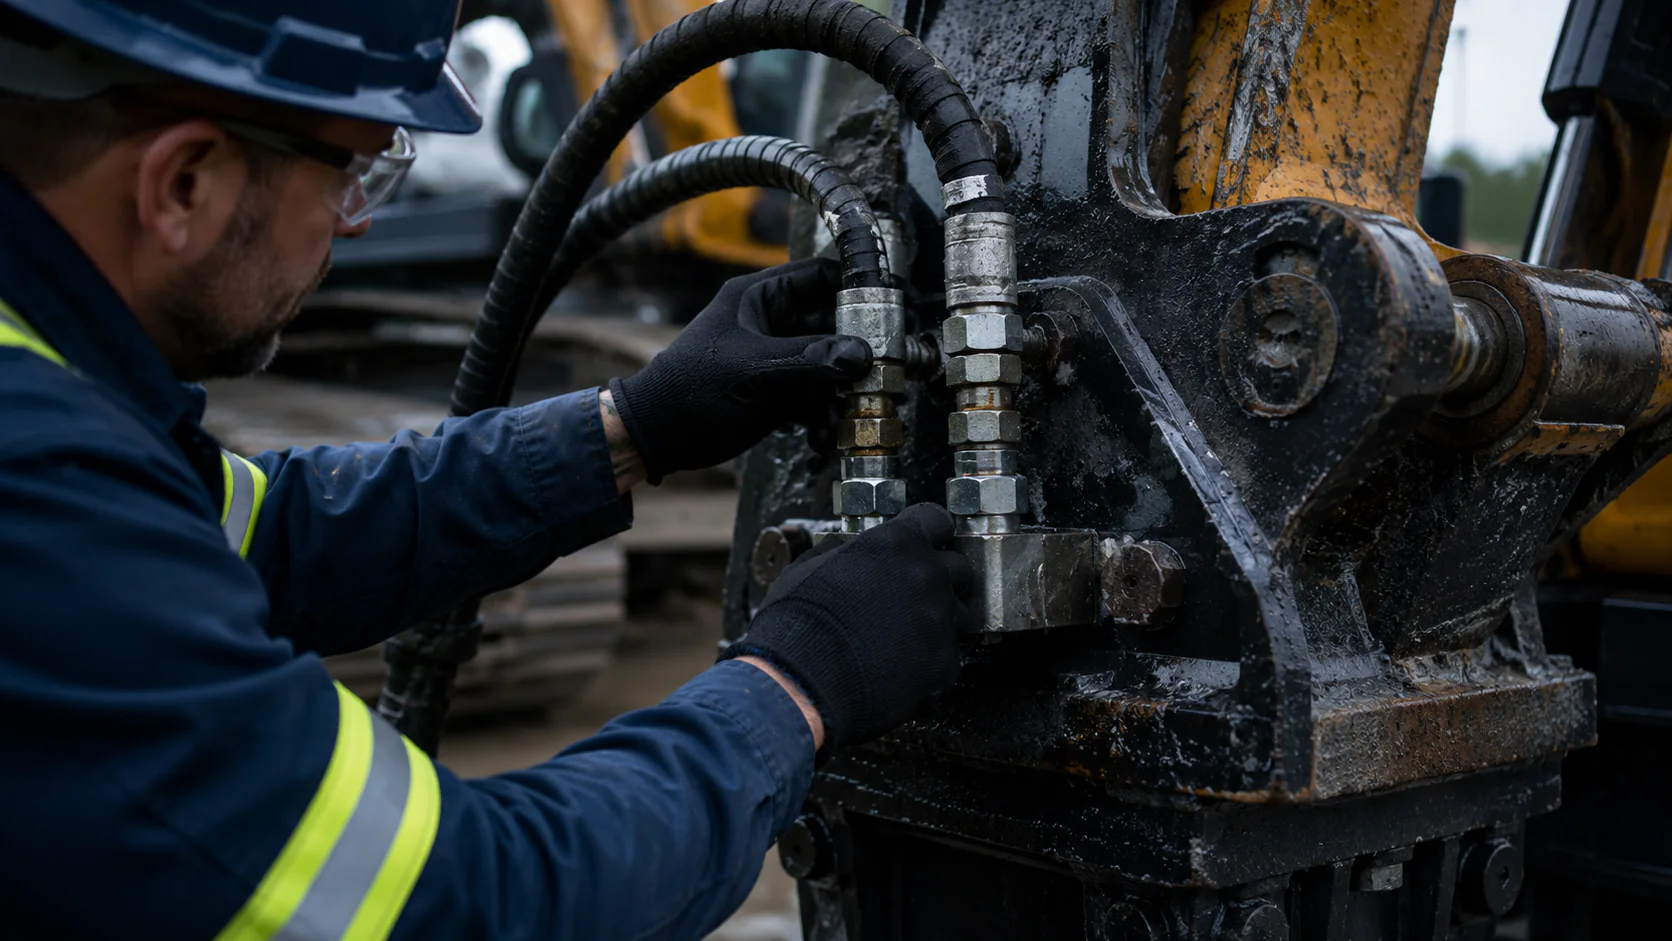
Follow the excavator manual for warnings and oil-level checks. Inspect accessible cooler surfaces for obstruction and visible hoses for damage after shutdown. Record operating time, ambient condition, engine/attachment mode and whether other hydraulic functions also become hot.
Record and escalate
Stop if the carrier warning instructs the operator to stop or if temperature continues rising. A qualified technician should evaluate cooling performance, oil condition, circuit restriction, flow, pressure and return conditions before breaker operation resumes.
Oil Leakage Around the Breaker
Symptom
Oil appears on a hose, coupling, fitting, breaker body, bracket area or beneath the attachment. Dust sticking to an oily area can help document the location, but it does not show whether the source is pressurized.
Likely cause categories
A damaged hose, failed connection, seal or component can leak. Oil can also travel from a higher point, so the wettest visible area is not always the source.
Safe first checks
Stop work, lower and isolate the attachment, keep people clear and photograph the area from a safe distance. Do not touch the leak, search with a hand, tighten the fitting under pressure or restart the machine simply to make the leak easier to see.
Record and escalate
Record the leak location, whether it occurs only while activated, oil loss or carrier warning, and any hose replacement or impact event. Any suspected high-pressure leak requires professional repair and inspection before operation.
Chisel or Tool Is Stuck
Symptom
The chisel does not move as expected in the lower body, remains in an unusual position, rotates poorly where rotation is normally possible, or shows visible deformation.
Likely cause categories
Side loading, contamination, tool, bushing and lubrication checks, deformation and retainer condition are possible categories. The correct clearance and removal method are model-specific.
Safe first checks
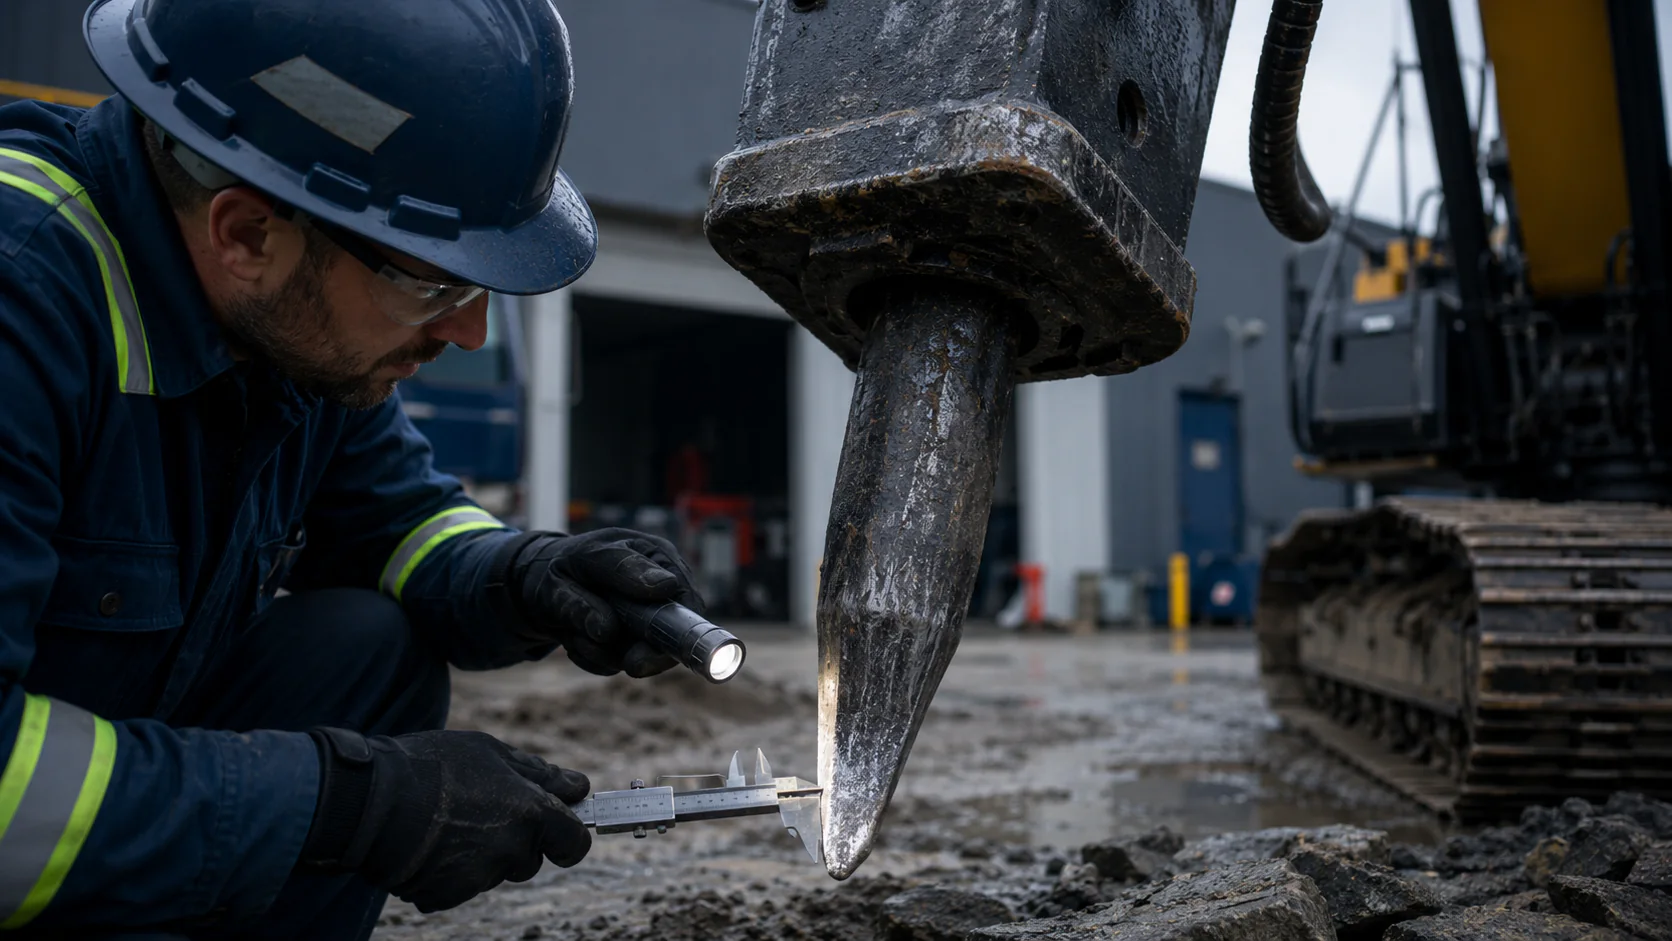
Stop using the breaker as a lever. After shutdown and isolation, photograph the exposed tool and note the application, tool type and recent lubrication history. Do not strike, heat, grind or pull the tool with improvised equipment.
Record and escalate
Send breaker model, tool type, visible markings, photos and the event that preceded the problem. A qualified technician must use the exact breaker procedure for retainer removal, tool extraction, wear measurement and inspection.
Abnormal Noise, Vibration or Movement
Symptom
New metallic noise, bracket movement, unusual side motion, rattling or vibration appears during operation. Treat a sudden change as a warning rather than a normal difference between materials.
Likely cause categories
Incorrect tool contact, mounting/coupler movement, visible fastener or retainer condition, hydraulic pulsation, tool/bushing wear or internal damage can cause abnormal behavior.
Safe first checks
Stop immediately and lower the attachment. From a safe position after isolation, check only visible bracket, coupler, pin, fastener, retainer and tool movement. Do not stand beneath the attachment or place hands between the bracket and breaker.
Record and escalate
Provide video of the behavior if it can be captured safely, plus close photos after shutdown. Do not resume if the mounting is loose, parts are cracked/missing, the tool is displaced or the source remains unknown.
Excessive Hose Vibration or Pressure Fluctuation
Symptom
A hose pulses, jumps, rubs another component or moves more than its previous working pattern. A technician may also observe unstable pressure during an approved test.
Likely cause categories
Hose routing, coupling or valve condition, supply/return restriction, circuit mismatch, air or contamination, control fluctuation and internal breaker conditions are possible categories.
Safe first checks
Observe from outside the movement zone without touching the hose. Stop if movement could cause abrasion, contact, coupling damage or loss of control. After isolation, photograph routing, bend points, clamps, couplings and any rubbed area.
Record and escalate
Record which line moves, when the vibration begins, machine mode, temperature state and whether impact changes simultaneously. Instrumented testing and any circuit change require a qualified technician and verified model data.
When to Stop Operating Immediately
- Any hydraulic leak, burst hose, fluid spray or sudden oil loss
- A carrier warning that requires shutdown, or temperature that continues to rise
- Loose mounting, abnormal coupler/bracket movement, missing hardware or a visible crack
- A displaced, fractured, mushroomed or stuck tool
- Sudden metallic noise, severe vibration or uncontrolled hose movement
- Smoke, burning smell, loss of machine control or any condition the operator cannot inspect safely
Secure the machine and work area according to the applicable manuals and site procedure. Do not resume because the symptom temporarily disappears. Record the condition and obtain the appropriate machine, hydraulic or attachment inspection.
Information to Send for Technical Support
A complete evidence set supports the KRATOR inspection and quality-control process by separating carrier, circuit, attachment and operating questions before the next inspection is recommended. It does not guarantee a remote diagnosis.
- Excavator brand, model and carrier operating weight
- Breaker brand/model and a clear nameplate photo
- Hydraulic flow and operating pressure from verified machine data or an approved test
- Exact symptom, when it started and whether it is constant or intermittent
- Cold/warm behavior, warning indicators and recent hose, coupler or setting changes
- Chisel or working-tool type and visible condition
- Wide and close photos plus a short video with sound when safe
- Destination country and required quantity if spare parts may be needed
FAST TECHNICAL REVIEW
Send the right data for a faster review
Share the machine, breaker and symptom details below. KRATOR can review what information or inspection is needed next. A confirmed diagnosis may still require measured hydraulic data and a qualified on-machine inspection.
Machine
- Excavator model
- Operating weight
- Hydraulic flow and pressure
Breaker
- Breaker model
- Tool or chisel type
- Nameplate photo
Evidence
- Exact symptom
- When it started
- Photos or short video
Preventive Checks Before the Next Job
Routine maintenance has a different intent from fault diagnosis. Before the next job, follow the exact excavator and breaker manuals for lubrication, oil condition, tool and bushing checks, hose inspection, fasteners, mounting and scheduled service. General maintenance checklists can help organize the work, while model-specific intervals and limits must come from verified documentation.
Confirm that the carrier and breaker are correctly matched before changing settings. Carrier weight, working condition and verified machine hydraulic data should be reviewed together before any adjustment is considered.
Safe Troubleshooting Order